
A quick guide to using Atlassian like a pro
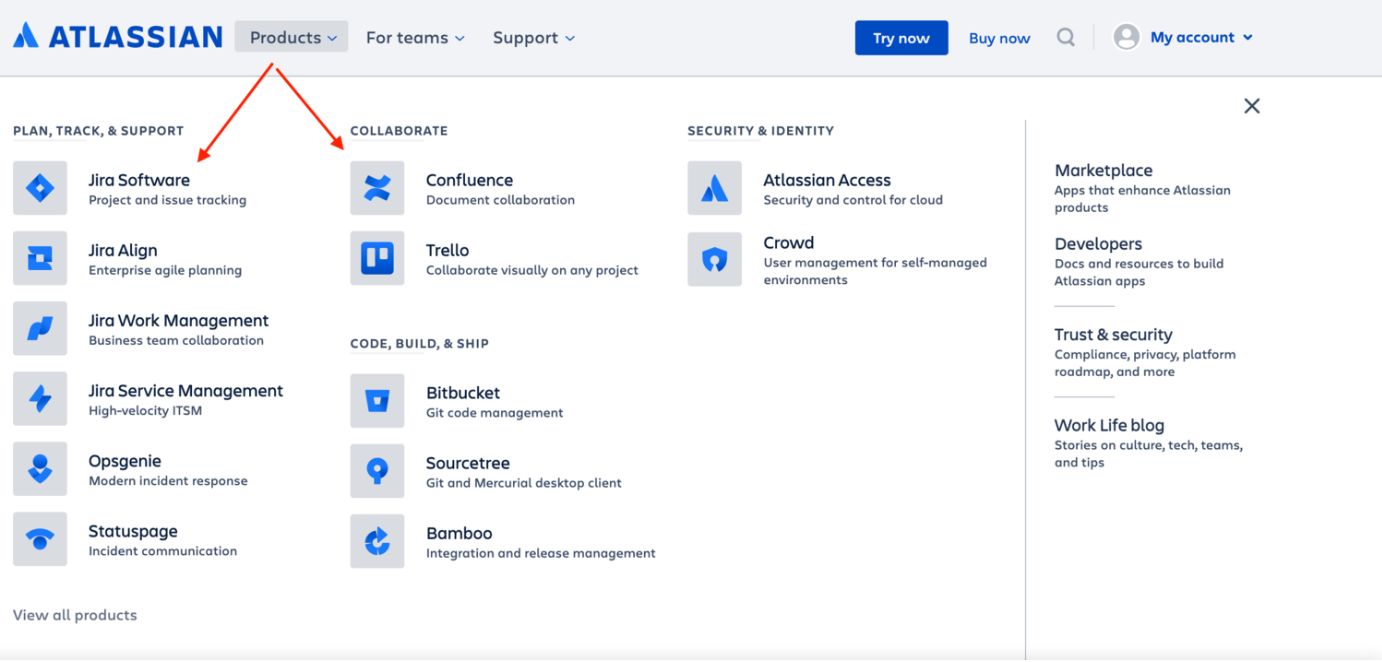
Go to Atlassian and create an account. You should be interested in two products, Jira Software Software and Confluence. Sign up for both but select Jira Software first as we won’t be using Confluence until later on.
Go through this Atlassian tutorial until you understand how to create a board. Do not worry about which options you choose as most teams regardless of following Scrum, Waterfall, Kanban or anything else, have their own variations on these boards. The important thing is to be familiar with the functions and have a basic board in place that you can use for the following exercises.
#1 Create a board with six statuses
Ready
This is where all tickets in a new sprint are initially located.
In development
When a developer is ready to pick up a ticket from the “Ready” column they will move it to “In development”.
Peer review
Once a developer has finished coding the feature he will move the ticket to “Peer review”. At this stage, another developer will do a quick review of the work before either approving it or suggesting some modifications.
QA
Once the developer’s work has been approved, the code will be deployed to a testing server where the tester/QA will check that the correct functionality exists.
UAT
After the QA has signed off the work, a stakeholder (usually the person in the business who requested the work) as a Business Analyst or Product Owner will do some checks also.
Done
This is the final step and usually means the code associated with the ticket has been moved to the production website.
#2 Create a ticket
Add the title “Book appointments”.
Include this user story - As a user I want to be able to book an appointment.
Add the below acceptance criteria.
Given I am on techerds.com.
When I click “career coaching”.
Then I land on the appointment page.
You should be able to transition this ticket along each step as well as push it back a step as if to simulate it failing certain checks.
#3 Create a bug
Creating a bug in Jira is like creating a ticket but you select “type = bug”.
This is made in response to identifying a problem either directly with a ticket or perhaps an independent issue found in the course of testing a separate ticket.
The ticket should have the below sections;
Description - The hero (first block on a page) image on the home page is not loading
Steps to replicate
Go to techerds.com
Look at the image in the hero section
See if it loads
This of course isn’t a real bug as images always load correctly on techerds.com. But once you have completed all of these tests you should be familiar with using Jira in a way that no entry-level job applicant will be.
Now, take everything that you have learned and write a “how-to” guide in confluence for each of these exercises. Documenting how to perform tasks is a huge part of every technology team Confluence is the main location for this documentation.